Instrument Panel
SAFETY FIRST: Protective gloves and eyewear are recommended at this point.
Remove the upper fairings. See the Upper Fairings topic for more information.
Remove the headlight. See the Headlight topic for more information.
Removal
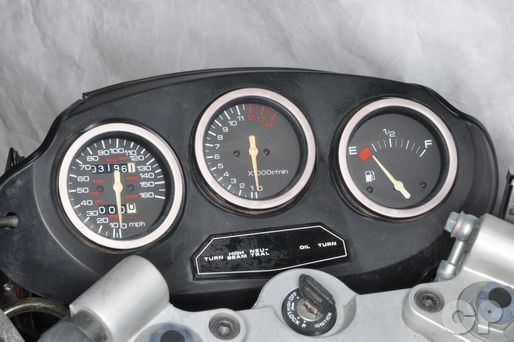
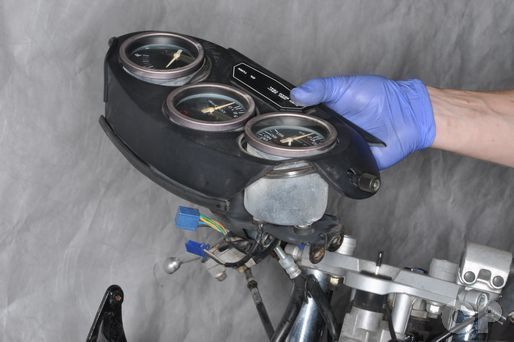
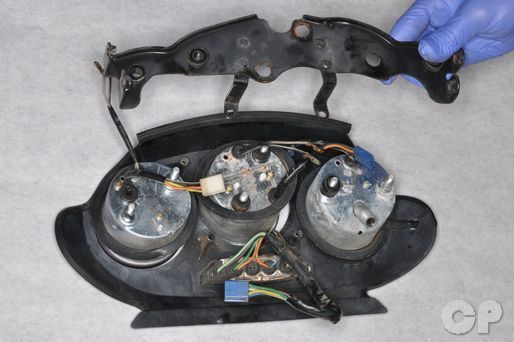
The instrument panel holds three gauges and several illumination bulbs.


Remove the instrument panel mounting nuts with a 10 mm socket.


Remove the two instrument panel screws with a #3 Phillips screwdriver.
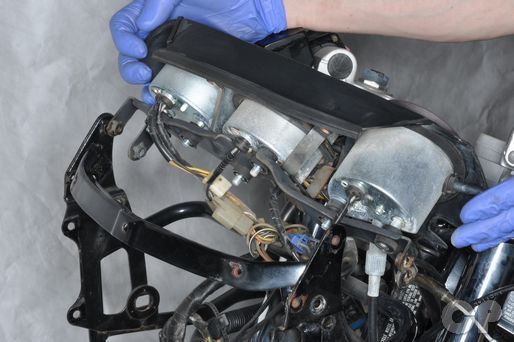
Lift the instrument cluster off the headlight support bracket.


Remove the speedometer cable.

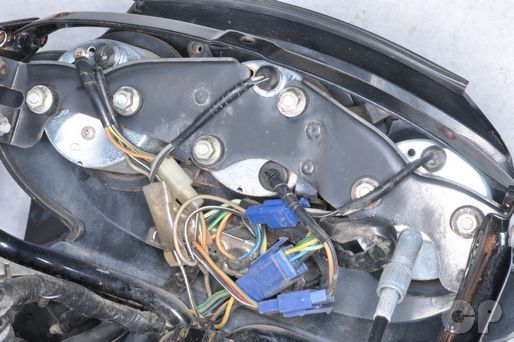
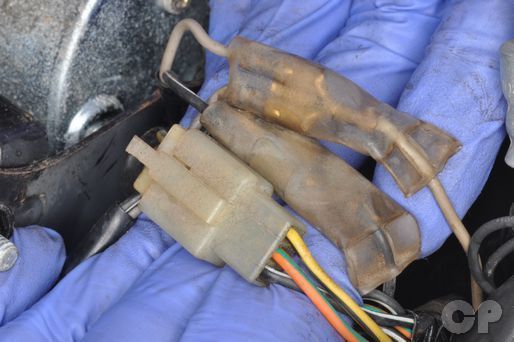
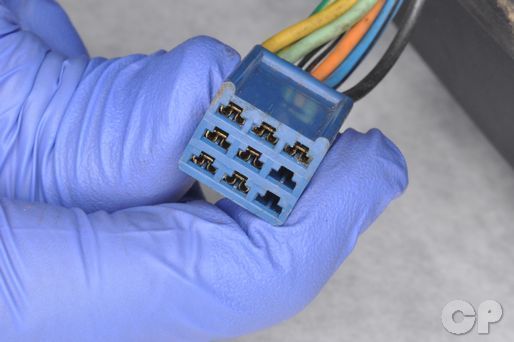
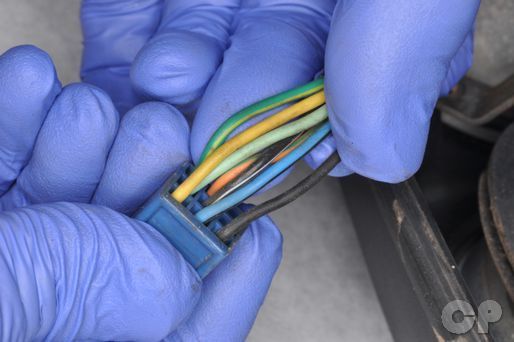
All connectors will need to be disconnected to free the instrument cluster.


Disconnect the speedometer lighting connector.


Disconnect the tachometer wiring.


Disconnect the instrument panel illumination wiring.


Disconnect the fuel gauge wiring.


Disconnect the tachometer lighting connector.


Disconnect the fuel gauge lighting connector.
Remove the instrument panel.
Inspection
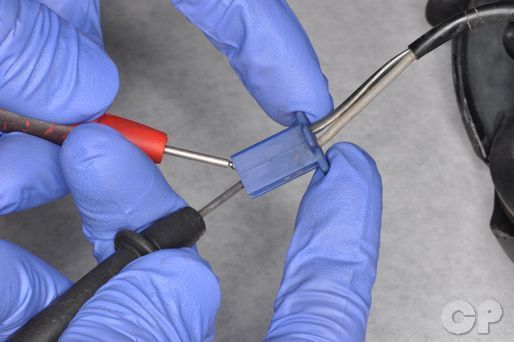
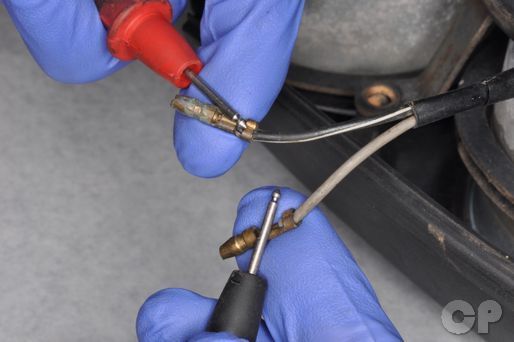
To inspect the instrument panel check for continuity with a digital multimeter as indicated by the chart. Replace components as needed.
| Katana GSX-750F | ||
| Item | Positive Meter Lead | Negative Meter Lead |
| Turn Signal | B | B/W |
| Tachometer | B/R | B/W |
| Ignition (Tach + and Fuel +) | O | B/W |
| Illumination (+) | Gr | B/W |
| High Beam | Y | B/W |
| Oil | O | G/Y |
| Neutral | O | Bl |
| Fuel | Y/B | B/W |
| Katana GSX-600F | ||
| Item | Positive Meter Lead | Negative Meter Lead |
| Turn Signal (R) | Lg | B/W |
| Turn Signal (L) | B | B/W |
| High Beam | Y | B/W |
| Neutral | O | Bl |
| Oil | O | G/Y |
| Illumination | Gr | B/W |
Check electrical wires for cracks or any other damage.


Disassembly


To open the instrument panel remove the screws with a #2 Phillips screwdriver.
Open the instrument panel.
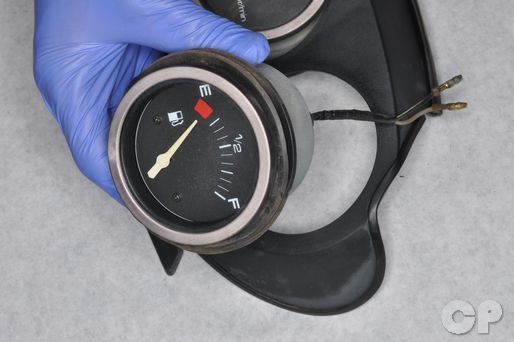
Remove the fuel gauge.
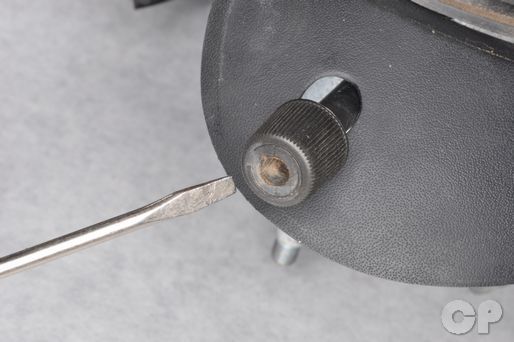
Remove the trip knob screw with a small flat blade screwdriver.
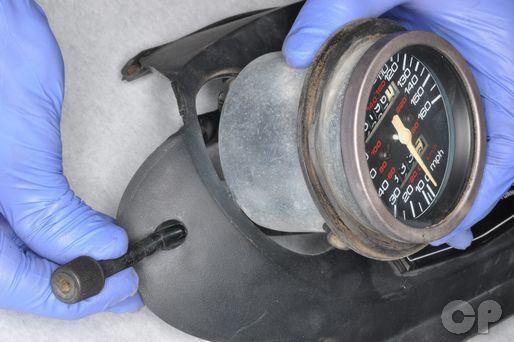
Remove the trip knob and speedometer.
Assembly
Install the trip knob and speedometer.
Install the trip knob screw with a small flat blade screwdriver.
Install the fuel gauge.
Install the instrument panel bracket.
Install the instrument panel screws with a #2 Phillips screwdriver.
Installation
Place instrument panel onto the headlight support bracket.
Connect the fuel gauge lighting connector.
Connect the tachometer lighting connector.
Connect the fuel gauge wiring.
Connect the instrument panel illumination wiring.
Connect the tachometer wiring.
Connect the speedometer lighting connector.
Check that all the connectors are secure.
Install the speedometer cable.
Align the instrument cluster with the headlight support bracket.
Install the two instrument panel screws with a #3 Phillips screwdriver.
Install the instrument panel mounting nuts with a 10 mm socket.
Install the headlight. See the Headlight topic for more information.
Install the upper fairings. See the Upper Fairings topic for more information.
Copyright - Cyclepedia Press LLC

Note: If you are viewing this document offline be sure to visit the latest version online at http://www.cyclepedia.com before attempting any repairs. Updates are made without notice.