Headlights
SAFETY FIRST: Protective gloves and eyewear are recommended at this point.
Remove the upper fairings. See the Upper Fairings topic for more information.
Removal
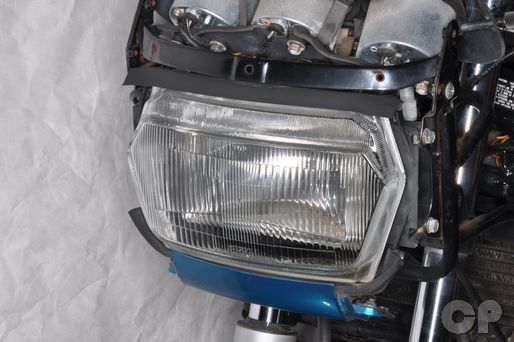


Remove the two headlight mounting bolts and washers with a 10 mm socket.


Loosen the two headlight chin fairing mounting screws with a #2 Phillips screwdriver.


Remove the two screws and the headlight chin fairing.


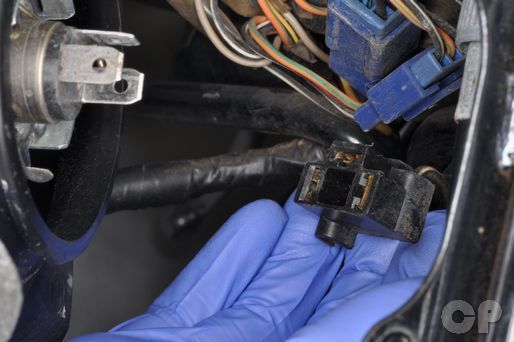
Disconnect the headlight wiring connector and remove the headlight.
Bulb Replacement
Disconnect the light bulb socket.


Remove the light bulb socket cover.


Twist light bulb carefully and pull it out. Do not touch the bulb with your bare hand. The oils on your hand can cause the failure of the bulb when it gets hot. Clean the bulb with a lint free towel and alcohol if you touch it.
Install the bulb and twist to lock it in. Snap in the light bulb socket cover.
Reconnect the light bulb socket.
Installation
Connect the headlight wiring connector and install the headlight.
Install the two headlight mounting bolts and washers with a 10 mm socket.
Install the headlight chin fairing with a the two mounting screws.
Tighten the two headlight chin fairing mounting screws with a #2 Phillips screwdriver.
Install the upper fairings. See the Upper Fairings topic for more information.
Headlight Aim


The headlight has two adjustment screws to aim the headlight. Adjust the aim up and down, and side to side, to meet your local regulations. Always adjust the headlights after changing the bulbs or reinstalling the headlight.
Headlight Support
Removal
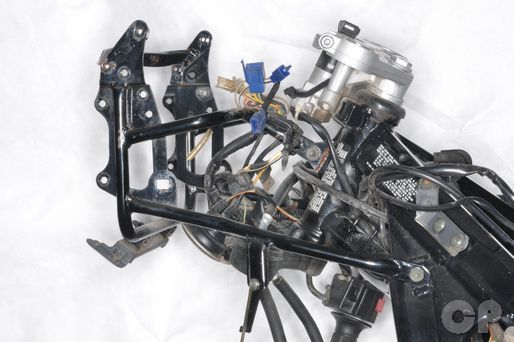
The headlight support is mounted to the frame with three bolts.
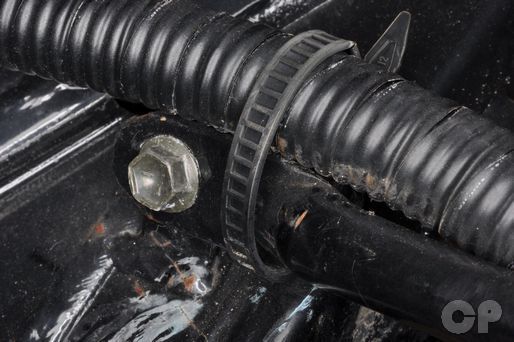
Remove any electrical clamps.


Remove the two lower bolts with a 10 mm socket.
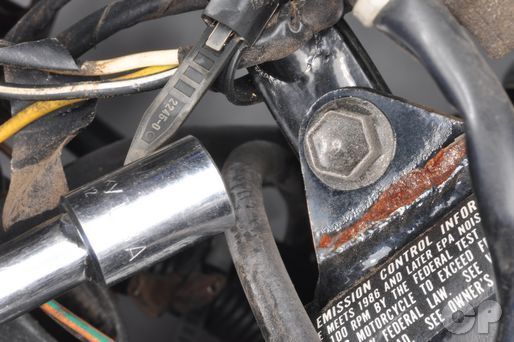
Remove the top bolt with a 12 mm socket.
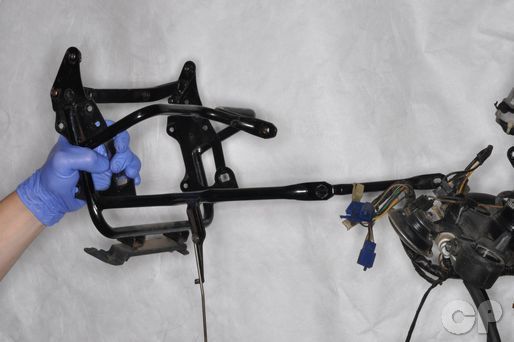
Remove the support from the frame.
Installation
Install the headlight support from the frame.
Install the top bolt with a 12 mm socket.

Install the two lower bolts with a 10 mm socket.


Install any electrical wiring clamps.
Copyright - Cyclepedia Press LLC

Note: If you are viewing this document offline be sure to visit the latest version online at http://www.cyclepedia.com before attempting any repairs. Updates are made without notice.