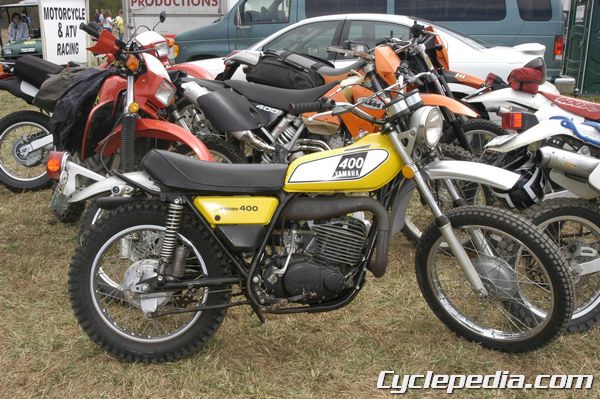
In our first vintage bike service tip article we covered some starting points for restoring vintage bikes. Now that the thing is rolling, the brakes have been dealt with, and the engine, fuel system, and chassis have had an initial inspection it’s time to start deciding how to deal with the issues that have popped up. Make a list of the problems to develop a plan of attack. What parts are totally shot, what can be service or repaired, what parts are hard to come by? What is the goal with the bike – a beater to ride or show queen?

On a newer motorcycle one can be confident that replacement parts can be sourced fairly easily through a dealer or online seller. This may not be the case with a vintage machine. While parts diagrams for newer vehicle are often freely available online, old bikes aren’t always so lucky. A printed parts manual can be a great resource for older machines. Having the parts manual won’t magically make a part from 60 years ago available, but it may make it easier to find by having a part number and official name. If your really lucky the parts diagrams will indicate generic sizing for items like bolts, seals, and bearings. Also, sometimes the parts diagram will have exploded views of assemblies that might not be included in the service manual.

While most vintage bikes are pre-internet age, going online to find parts and information shouldn’t be overlooked. Repairmanual.com is a great source for old service and parts manuals. There are forums, Facebook pages, and enthusiasts sites devoted iconic vintage motorcycles and obscure models alike. While one shouldn’t believe everything posted by an internet hero it doesn’t hurt to take a gander at what others with similar models have experienced. If the bike is old there is a good chance a history of problems and solutions documented online.
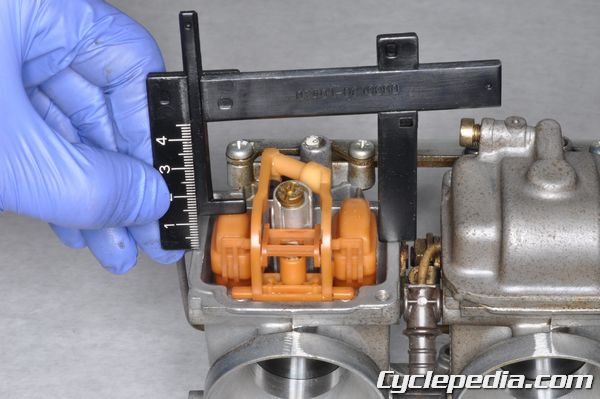
A thorough carburetor clean is always a good place to start if the engine hasn’t been run for some time. If you jump the gun and try to run an engine with a dirty carb you may move debris from the float bowl or fuel supply into the small fuel circuits of the carb. What could have been a quick and easy cleaning job has now been thoroughly fouled up. It is best to go ahead and clean and inspect the carburetor/s right away. While your there check for after market jet kits and worn needles/needle jets. Check out the condition of the float valve and set the float height to specification. Bench test the carburetor by placing it in a position as if it were installed and see if the float bowl fills with fuel and then the float valve closes to prevent excessive fuel from flowing into the engine. It may be necessary to leave the carb in this condition over several hours to make sure the float valve is sealing correctly.
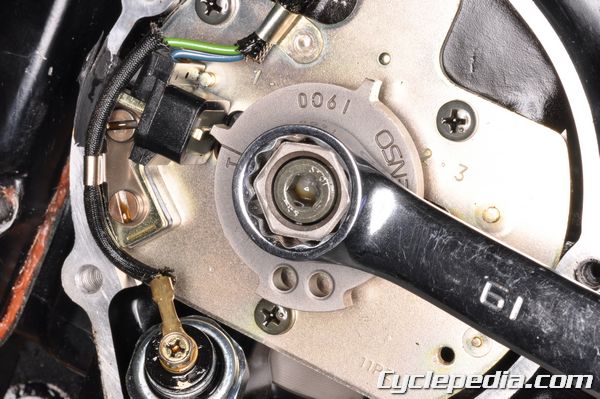
Now that the carburetor is clean and ready to go how about the compression? Turn the engine over by hand and make sure the engine turns smoothly without any strange noises or resistance. Compression and leak down tests for 2 and 4 stroke engines are great to check the engine condition. Even if these tests are good a top end inspection may reveal excessive valve-train, cylinder, or piston wear. Remember to make sure you can get gaskets before taking the engine apart.
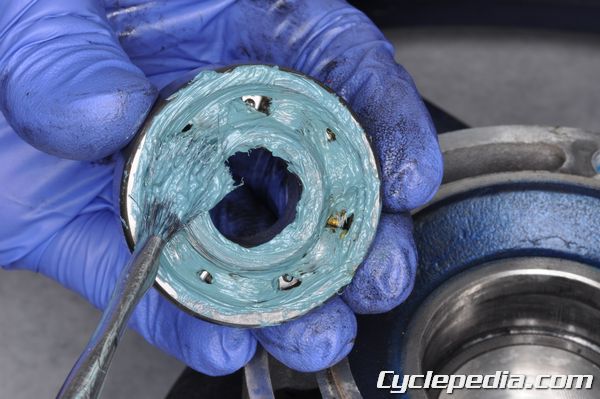
Consider the regular periodic maintenance items. Get fresh fluids in the machine. Don’t forget the fork oil. It may not be leaking because its long gone. Check the condition of the chain and sprockets and adjust the slack to specification. Inspect the wheels and tires. Broken spokes and bad wheel bearings are regular items on vintage machines. A new set of tires can make any bike feel better; especially if the old ones are ancient and dry rotted. Check for loose fasteners on the bike. Old bikes like to vibrate things loose.
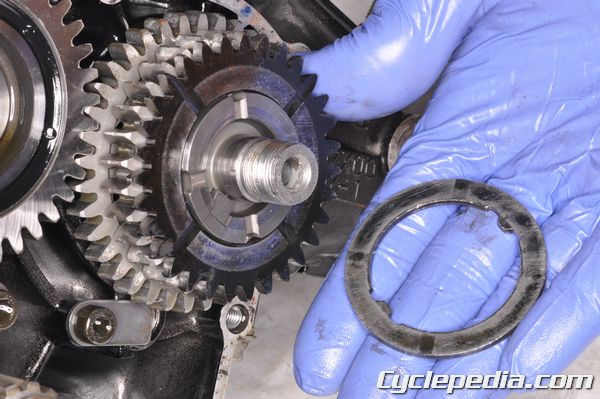
Take extra care to stay organized when dealing with vintage bike parts. It may take years to find a replacement part if something goes missing or gets damaged. While the initial investment in a vintage motorcycle may be low they can be expensive to restore and maintain.


Leave a Reply
You must be logged in to post a comment.