Carburetors control the amount of air and fuel entering the engine to provide the correct mixture for combustion. To do this over a wide operating range, multiple fuel circuits are employed.
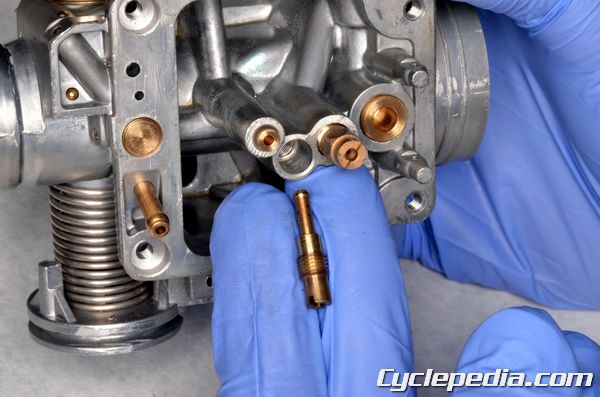
At idle and low throttle openings the pilot, or slow fuel circuit, plays the most important role in fueling. As the throttle is opened the carburetor transitions to the needle jet and jet needle circuit for mid range responsibilities, and the main jet for top end fueling. This is why a carburetor may run fine at one throttle position and poorly in another.

The fuel circuits do overlap, but for the most part they can be adjusted individually. Changing the main jet size will adjust the top end of the operating range from half to full throttle. Adjusting the needle jet size, jet needle, and needle clip position will affect the mid range operation. This leaves the pilot jet size and the pilot screw for the idle and low throttle conditions.
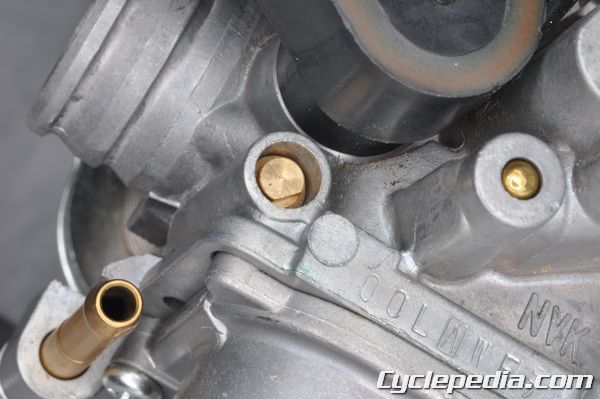
Pilot screws are preset from the factory and should only be adjusted under necessary circumstances. The screw may have a limiter cap or plug installed over it to prevent adjustment. The caps are often held on by Loctite and may need to be heated with a heat gun to be removed. Remember what you are working with, there may still be small amounts of fuel in the carburetor, do not use a torch, and take care to avoid accidental combustion.

When removing a plug you must be absolutely sure of its location or you can ruin a carburetor. Consult the service manual for proper instructions. Drill into the plug using a drill stop so you don’t go overboard and hit the adjusting screw. Thread in a self tapping screw and pull out the plug.

A special wrench may be required to turn the screw. Also, the carburetor must be mounted in place when adjusting the screw. A flexible or 90 degree driver may be needed if you can’t get to the screw with normal tools.
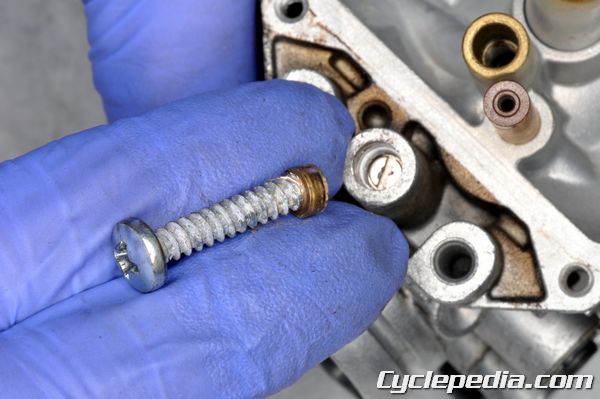
Before removing a pilot screw turn it all the way in until it lightly bottoms out. Do not force it in as it can be easily damaged. Count the number of turns it takes to bottom out the screw and record this number. If the manufacture doesn’t provide a standard setting or the carburetor has been specifically tuned, this number will be all you have to work from.

Remove the pilot screw and its related components. Most have a spring, washer, and O-ring. Discard the O-ring and replace it with a new item on assembly after the carburetor has been cleaned. Assemble the carburetor and return the pilot screw to its original position or the specified number of turns out given by the manufacturer. Install the carburetor to the vehicle and prepare the vehicle to run.
Check the service manual for specific pilot screw adjustment procedures. Start the engine and warm it up to normal operating conditions. Connect a tachometer. Adjust the idle to the required specification. Generally the pilot screw adjustment procedure involves turning the pilot screw in or out in small increments until the idle climbs as high as it will go. Return the idle to specification with the idle adjuster. There may be additional specific instructions calling for an adjustment of the pilot screw based on additional turns and/or rpm change.
Repeat the procedure as needed to make sure you end up with a bike that idles correctly. Install a new plug or cap as indicated in the service manual when you are done.


Leave a Reply
You must be logged in to post a comment.