Engine Oil
Type and Capacity
Suzuki recommends 10W-40 4 Stroke Oil type API grade SE or SF. In warmer climates 20W-50, 15W-40, 15W-50, and 10W-50 can be used if 10W-40 is unavailable. In cooler climates 10W-30 can be used if 10W-40 is unavailable. overhaul.
| Engine Oil Capacities | |
| oil change | 3.600 ml (3.8 US qt) |
| oil and filter change | 3,800 ml (4.0 US qt) [600], 3,900 ml (4.1 US qt) [750] |
| engine overhaul | 5,000 ml (5.3 US qt) [600], 4,900 ml (5.2 US qt) [750] |
SAFETY FIRST: Protective gloves and eyewear are recommended at this point.
Inspection
Let the engine warm up for three minutes and then shut it off and wait for three minutes.
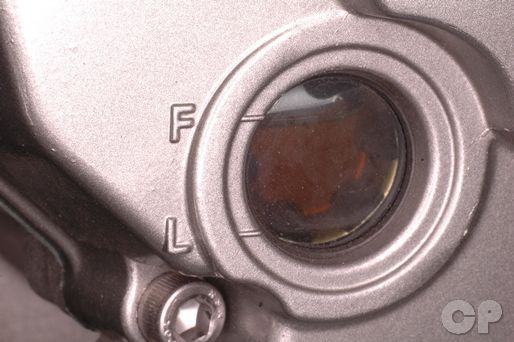
Hold the motorcycle upright and check the oil level in the oil level sight glass. If the oil level is low, add oil until the oil level is between the lower and upper marks.
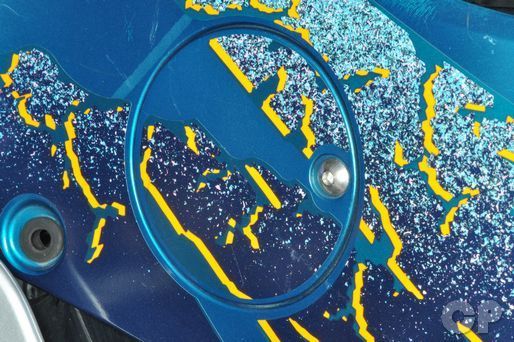
The oil filler plug is covered by a door on the right side of the motorcycle. Remove the filler plug door bolt with a 4 mm Allen and remove the door.
If the oil level is at or below the lower mark on the dipstick add more of the same type and brand of oil to the engine through the oil filler hole. Inspect the O-ring on the filler cap and replace it as needed.
If the oil level is above the upper mark on the dipstick remove the drain plug to get the extra oil out.
Servicing
Remove the lower fairings. See the Lower Farings topic for more information.
Start and run the engine for several minutes, this will heat the engine and allow the oil to drain out faster and more completely. Shut off the engine.
NOTE: Hot engine oil can burn you, take precautions not to touch the oil when draining.
Remove the oil filler plug for faster draining.
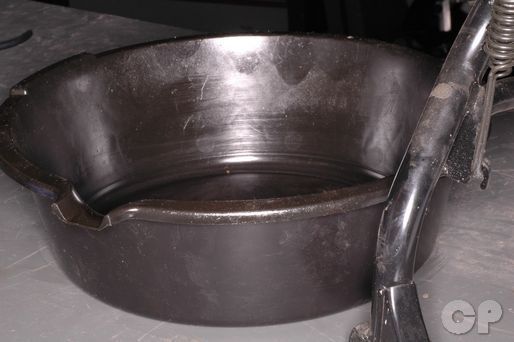
Loosen the oil drain bolt with a 21 mm socket. Remove the drain bolt and sealing washer. Allow the oil to drain into the oil pan.
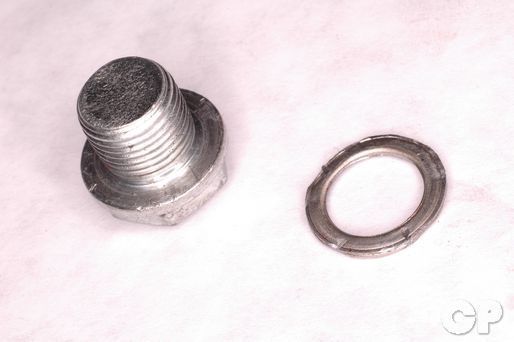
Discard the old sealing washer. When the oil has drained completely install the drain bolt with a new sealing washer. Torque the drain bolt to specification with a 21 mm socket.
(Oil Drain Bolt Torque: 23 N-m or 16.5 lb-ft)
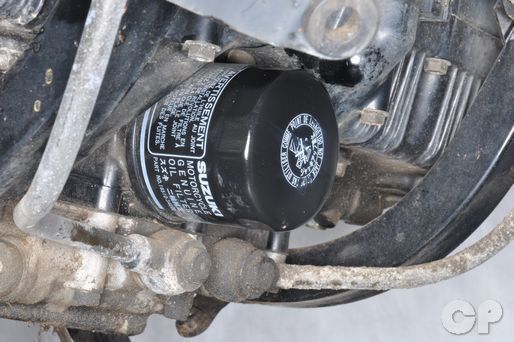
Remove the oil filter with an oil filter wrench.
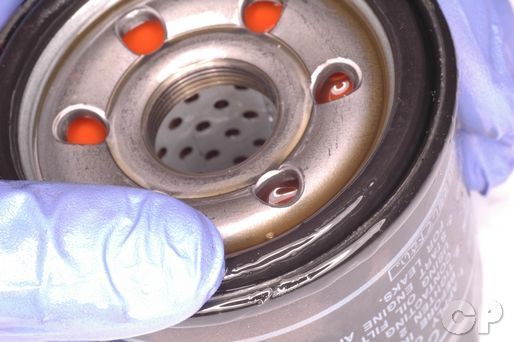
Pour some clean engine oil into the new filter. Also, coat its seal with oil.
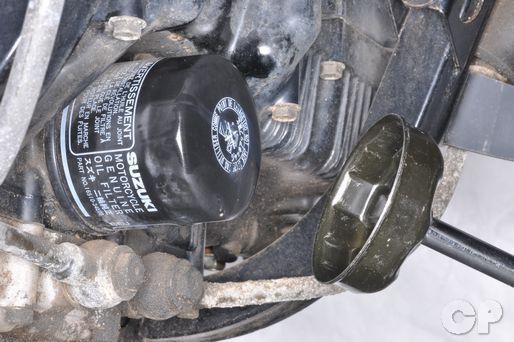
Install the new filter and tighten it securely with an oil filter wrench.
Refilling
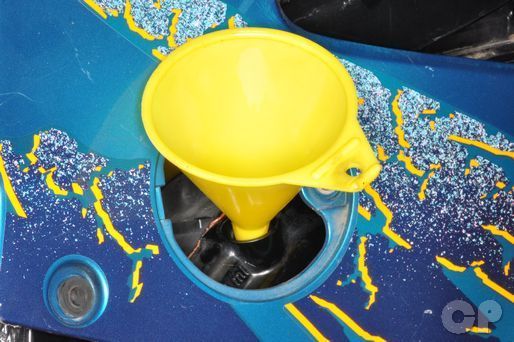
Add the proper type and quantity of oil and install the oil filler cap/dipstick. Start the engine and let it run for several minutes. Check for any oil leaks.
Inspect the oil level. See Above for more information.
Oil Pressure Check
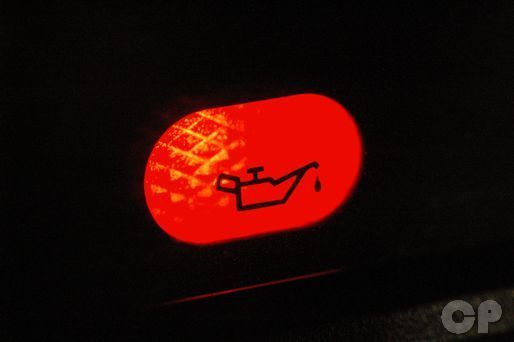
Start the engine and check the oil light. If the oil light remains on check the oil pressure switch. See the Switches topic for more information. If the switch check out inspect the engine oil pressure.
Remove the lower fairings. See the topic Lower Fairings topic for more information.
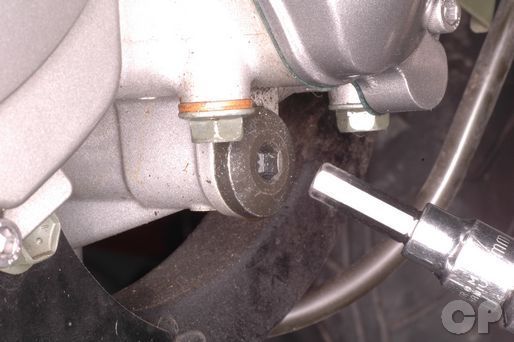
Loosen the oil galley plug on the right side of the engine with an 8 mm socket.
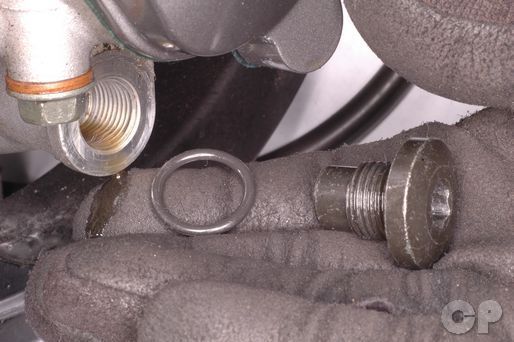
Remove the oil galley plug and discard its O-ring seal.
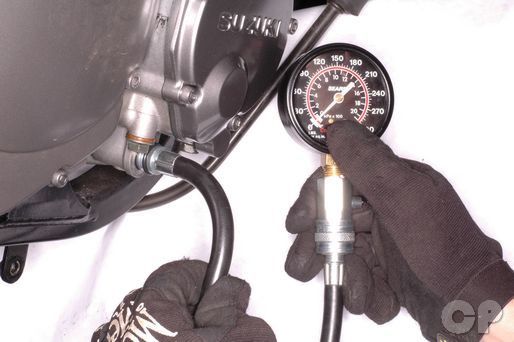
Thread an oil pressure gauge into the oil galley. Start the engine and allow it to warm up fully. In cool weather give the engine 20 min to warm up. In warm weather 10 min should be sufficient. Bring the engine speed up to 3,000 rpm and check the oil pressure gauge.
| Oil pressure (at 60°C, 140°F) | Above 300 kPa (43 psi) Below 600 kPa (85 psi) at 3000 rpm. |
Special Tools-
Oil Pressure Gauge: 09915-74510
Oil Pressure Gauge Attachment: 09915-74540
Meter: 09915-77330
Low Oil Pressure Common Problems
Clogged filter
Oil leak/s
Damaged seals
High Oil Pressure Common Problems
Engine oil viscosity too high
Clogged oil passage/s
Install the oil galley plug with a new O-ring. Tighten the plug to specification with an 8 mm socket.
(Oil Galley Plug Torque: 40 N-m or 29.0 lb-ft)
Copyright - Cyclepedia Press LLC

Note: If you are viewing this document offline be sure to visit the latest version online at http://www.cyclepedia.com before attempting any repairs. Updates are made without notice.


