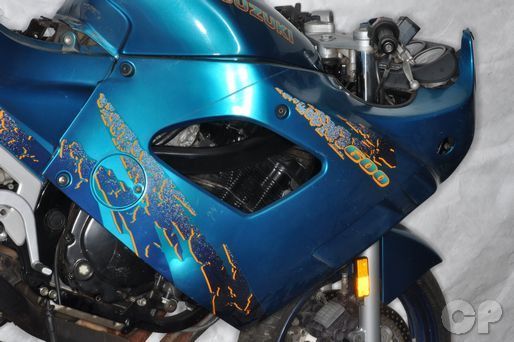
Side Fairings
SAFETY FIRST: Protective gloves and eyewear are recommended at this point.
Removal
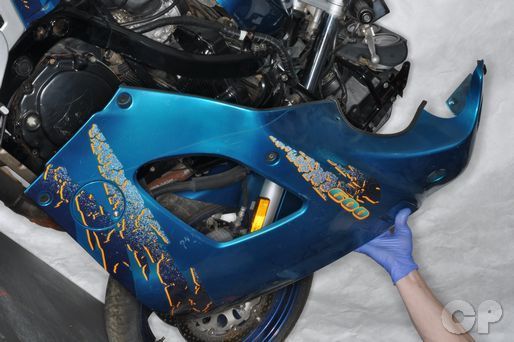
Lower Fairing

Remove the four screws that hold the lower fairing to the upper with a 5 mm Allen or a #2 Phillips screwdriver as needed by model.
To separate the lower fairing pieces remove the three inner faring screws and the two screws on the joint between the right and left lower fairing pieces.
Inspect the rubber fairing mount grommets and replace them as needed.
Upper Fairing

Remove the four windshield screws with an Allen. Remove the mirror mounting bolts (two each) with an Allen.
Unplug the turn signal connectors.


Remove the five upper fairing bolts with a 5 mm Allen. Repeat the procedure to remove the other side.
Remove the upper fairing.


To remove the small fairing piece below the headlight loosen its two mounting screws with a #2 Phillips screwdriver.


Remove the screws and the headlight fairing piece.
Inspect the rubber fairing mount grommets and replace them as needed.
Installation
Upper Fairing
Install the small fairing piece below the headlight. Tighten the two screws securely with a #2 Phillips screwdriver.


Fit the upper fairing side pieces into place. The petcock knob must fit through the left side piece.
Insert the four upper faring mounting bolts and tighten them securely with a 5 mm Allen.
Plug in the turn signal connectors.
Install the windshield and tighten its four screws securely with an Allen.
Install the mirrors and tighten the two mounting bolts for each securely with an Allen.
Lower Fairing
Fit the side pieces of the lower fairing onto the upper fairing and install the four mounting screws on each side.
Connect the side pieces of the lower fairing at the bottom with two screws.
Install the inner piece of the lower fairing and secure it with three screws.
Tighten the fairing screws securely with a 5 mm Allen or a #2 Phillips screwdriver as needed by model.
Copyright - Cyclepedia Press LLC

Note: If you are viewing this document offline be sure to visit the latest version online at http://www.cyclepedia.com before attempting any repairs. Updates are made without notice.