Clutch Removal
SAFETY FIRST: Protective gloves and eyewear are recommended at this point.
Remove the upper fairings. See the Upper Fairings topic for more information.
Drain the engine oil. See the Engine Oil topic for more information.


Loosen the nine clutch cover bolts evenly with a 5 mm Allen. Remove the bolts. The two forward most bolts have washers.
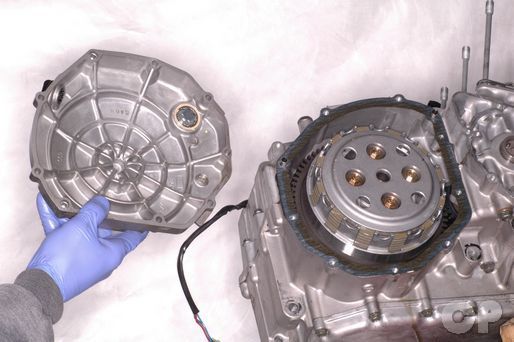


Utilize the pry points to remove the clutch cover.


Remove the clutch cover gasket and dowel pins.
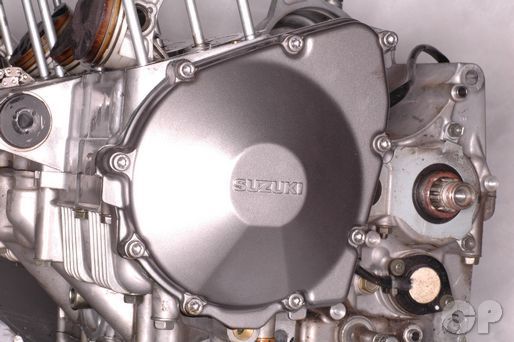
Remove the nine left crankcase cover bolts with a 5 mm Allen.


The top left bolt has a sealing washer and the farthest left bolt is longer than the rest.
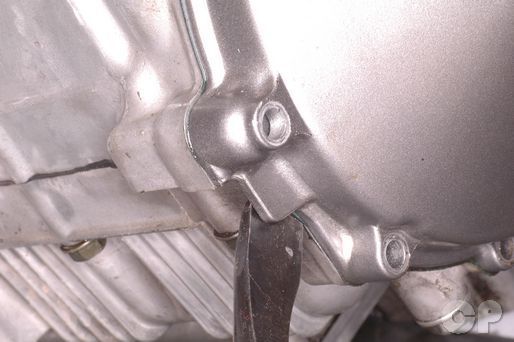


Utilize the pry points to free the left crankcase cover.


Remove the left crankcase cover and gasket.
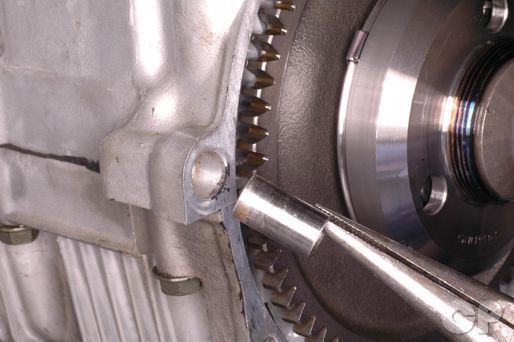
Remove the dowel pin from the crankcase.
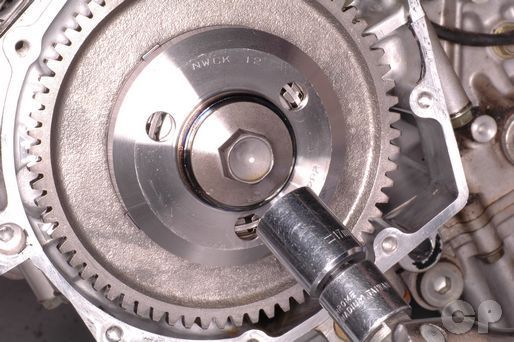
Hold the starter clutch with a starter clutch holder. If you do not have a starter clutch holder you can hold the bolt with 17 mm socket.
Special Tool- Starter Clutch Holder: 09920-34810
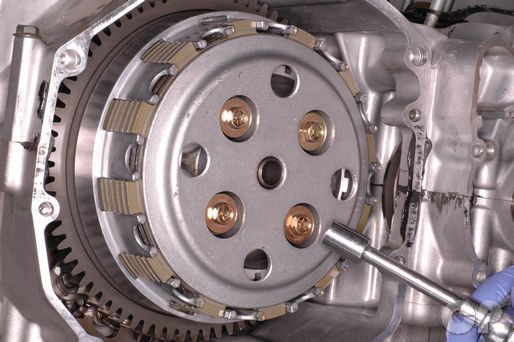


Loosen the clutch spring bolts a few turns at a time in a crisscross manner with a 10 mm socket. Remove the clutch spring bolts and springs.
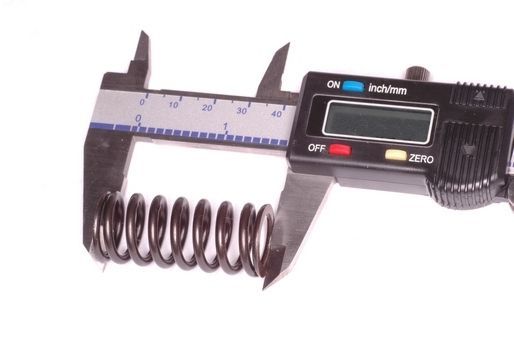
Measure the free length of the springs. If a spring is less the service limit they must be replaced as a set.
| Item | Service Limit mm (in) |
| Clutch spring free length 600 1988 - 1991 | 33.0 (1.30) |
| Clutch spring free length 600 1992 - 1997 | 47.5 (1.87) |
| Clutch spring free length 750 | 38.1 (1.50) |
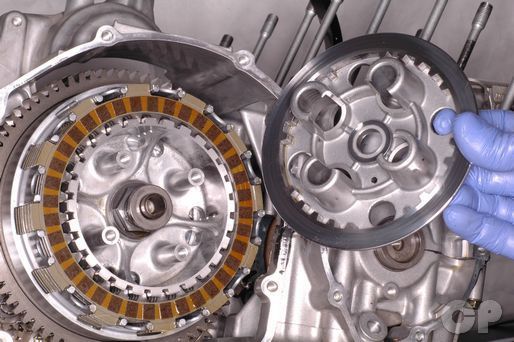
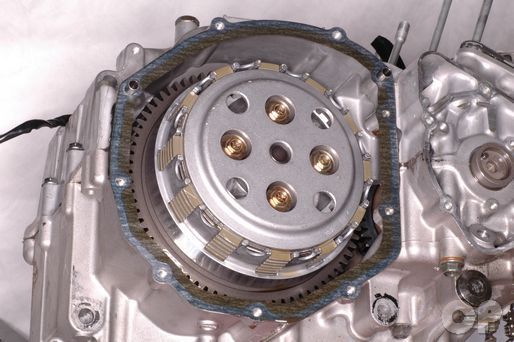
Remove the pressure plate.
Note: The Katana models differ in the composition of their clutch packs. See the table below for more information.
| Model | Friction Plate No. 1 | Friction Plate No. 2 (base of clutch pack) |
Steel Disc |
| 600 (1988 - 1991) | 8 | --- | 7 |
| 600 (1992 - 1997) | 7 | 1 | |
| 750 | 7 | 1 | 9 |
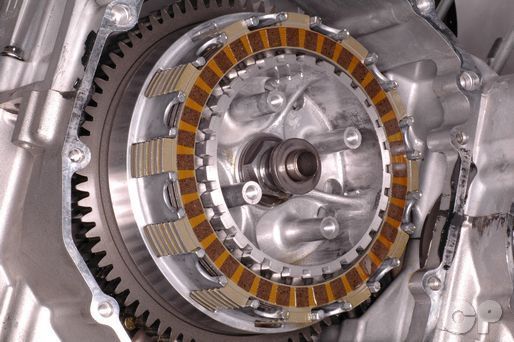


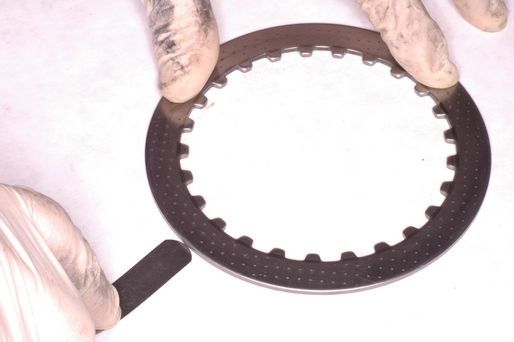
Remove the friction plates and steel clutch discs. On applicable models, the one No. 2 friction plate sits at the base of the clutch pack. Inspect the clutch plates for wear, damage, and discoloration. Replace the clutch plates as needed.
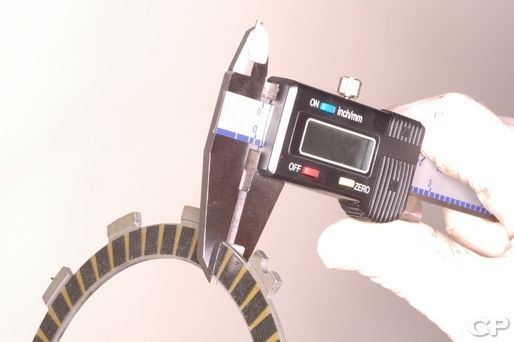
Measure the thickness of the friction discs.
| MODEL | STANDARD mm (in) | LIMIT | |
| 600 (1988 - 1991) | 2.65-2.95 (0.104-0.116) | 2.35 (0.103) | |
| 600 (1992 - 1997) | 2.12-2.28 (0.083-0.090) | 1.72 (0.068) | |
| 750 | 2.12-2.28 (0.083-0.090) | 1.72 (0.068) | |
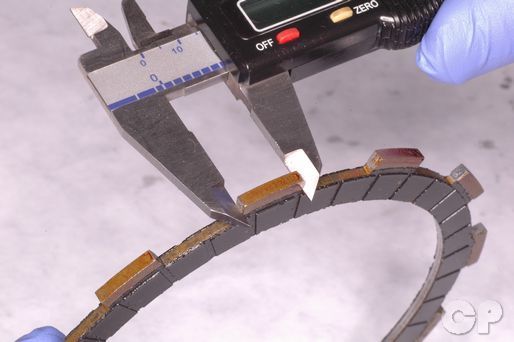
Measure the width of the friction plate tangs on the 1988 - 1991 Katana 600 models.
(Friction Plate Tang Width Service Limit: 15.0 mm or 0.591 in)
Check the clutch steel discs for warpage using a surface plate and a set of feeler gauges. If any clutch steel plate is not within specification, replace all of the steel plates as a set.
(Clutch Steel Plate Warpage Service Limit: 0.10 mm or 0.004 inches)
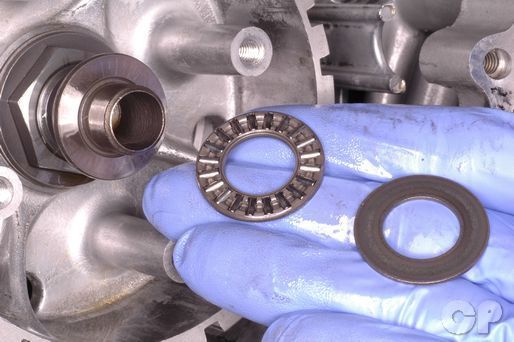
Remove the washer and needle bearing.
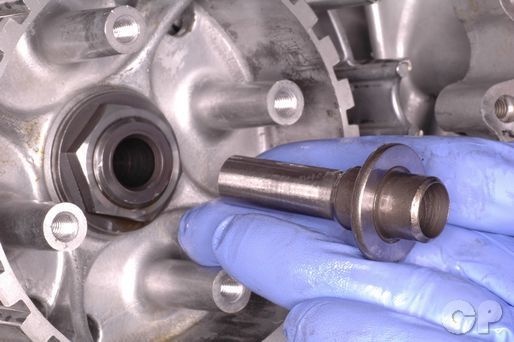
Remove the clutch push piece from the mainshaft.
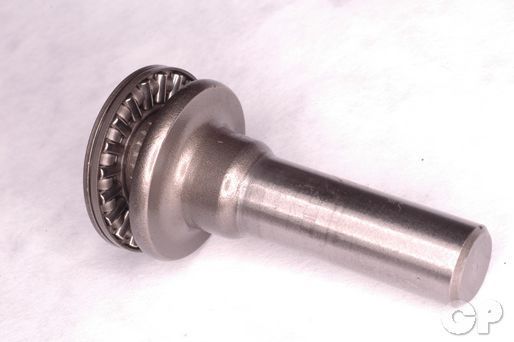
Spin the clutch release needle bearing on the push piece. If the bearing doesn't turn smoothly or it is damaged it must be replaced.
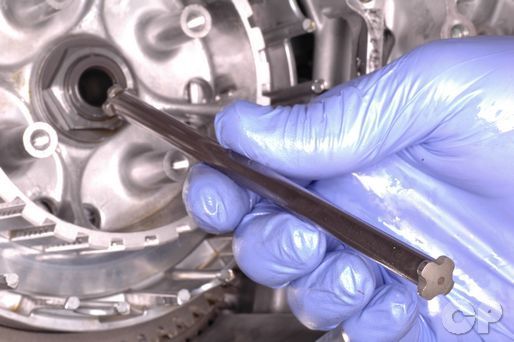
Remove the large clutch push rod. To remove the small clutch push rod take off the countershaft sprocket cover. See the Countershaft Sprocket topic for more information.
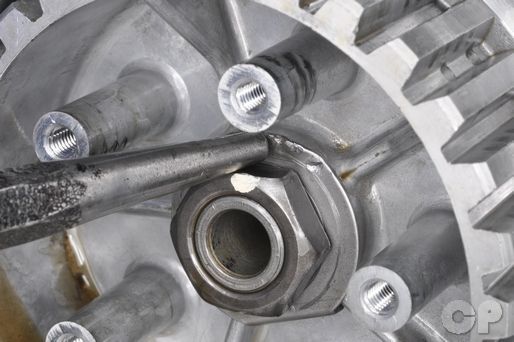
Flatten the tab on the lock washer with a punch and a steel hammer. The lock washer should be replaced with a new item at installation.
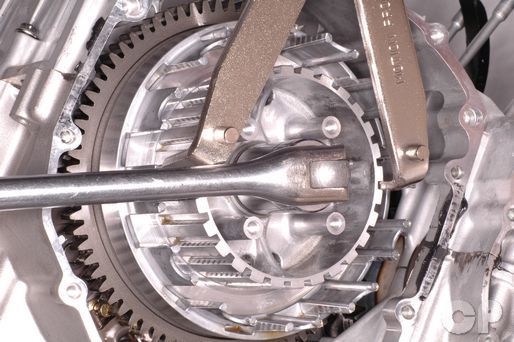
Hold the clutch hub with a clutch center holder and loosen the nut with a 27 mm socket.
Special Tool-
Clutch Sleeve Hub Holder (600): 09920-50710
Clutch Sleeve Hub Holder (750): 09920-53722
Order Special Tool Here! http://www.repairmanual.com/catalog/150465
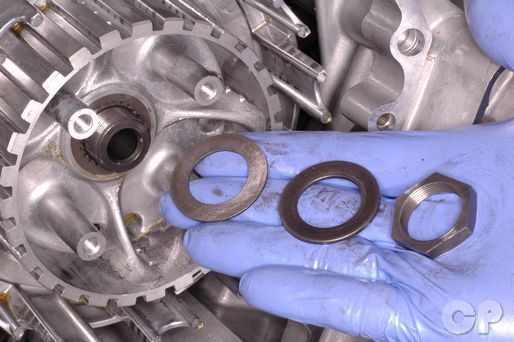
Remove the nut, lock washer and wave washer from the mainshaft.
Remove the clutch hub from the mainshaft. Inspect the clutch hub splines for damaged and wear.
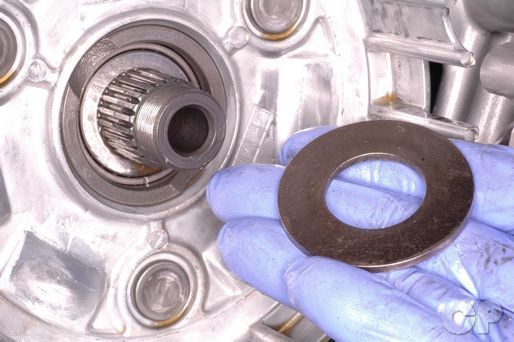
Remove the thrust washer.
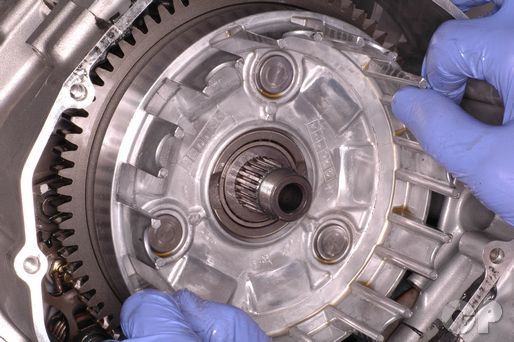


Move the clutch basket back and forth until you can get a grip on the spacer.
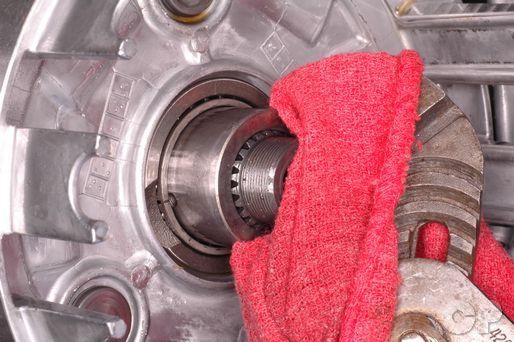


Remove the spacer. Take care to avoid damaging the spacer during removal.
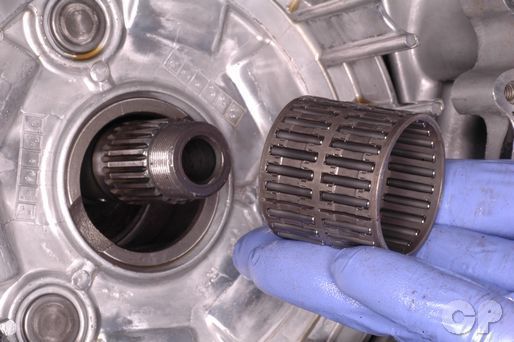
Remove the needle bearing from the mainshaft. Inspect the bearing and replace it as needed.


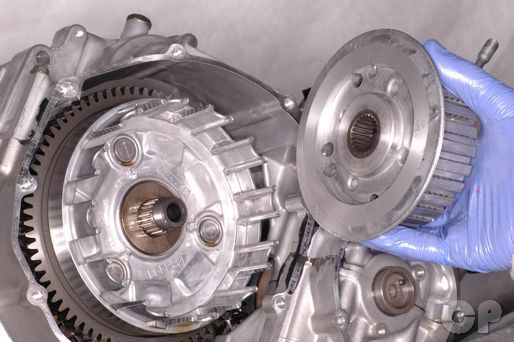
Remove the clutch basket. Inspect the fingers of the clutch basket for damage.


Remove the thrust washer from the mainshaft.
To install the clutch see the Clutch Installation topic.
Copyright 2025 - Cyclepedia Press LLC

Note: If you are viewing this document offline be sure to visit the latest version online at http://www.cyclepedia.com before attempting any repairs. Updates are made without notice.