
Adventure bikes rack up hard miles. The shocks on these bikes are especially prone to wear and deterioration by how they are used and their construction. We stopped in at Cogent Dynamics and learned about shock service and improvement from owner and suspension specialist Rick Tannenbaum.

The folks at cogent dynamics service, tune and build suspension components for a wide variety of motorcycles from full on road race machines to small bore dual sports. Today we went over how to inspect and service the KYB shock on the Suzuki DR650, but the lessons learned here apply to many other shocks that might not be considered serviceable at first glance. The Suzuki workshop manual doesn’t show any instructions for repairing this critical component. It can be overhauled if you treat it like the quality shock absorber it is and have some background knowledge on shock absorber service.


Start by removing the spring.
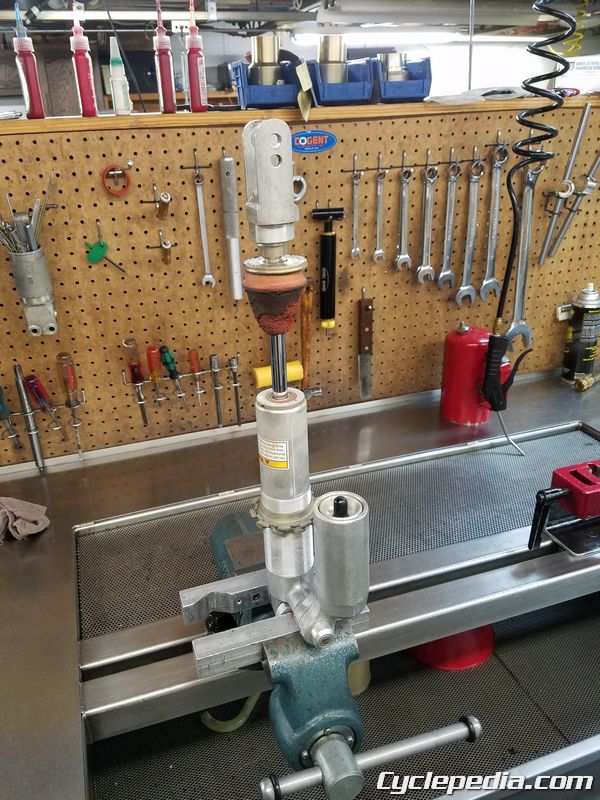
The damper can now be inspected free of the spring. The damper shaft should move smoothly. If the movement is too light or inconsistent, the bladder may have failed allowing the gas to mix with the oil inside the shock body.

Remove the schrader valve cover and cap then vent the nitrogen pressure from the bladder.

Many newer shocks require a special needle tool to fill or empty the gas pressure from the bladder.

Tap down the bladder cap while avoiding striking the valve. If the bladder cap won’t budge the gas may have leaked into the shock body. If this is the case it needs must be vented by very slowly and carefully removing the damping adjuster from shock body.
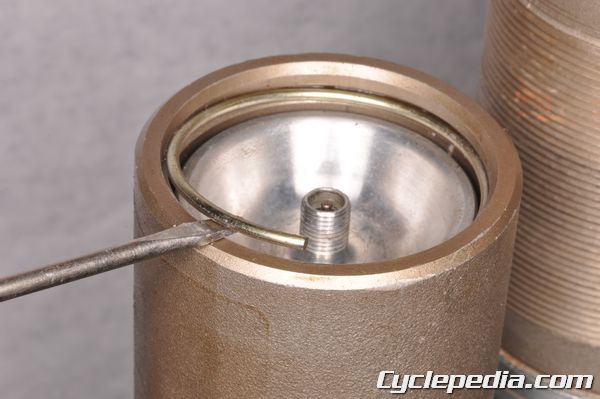
Remove the bladder circlip.
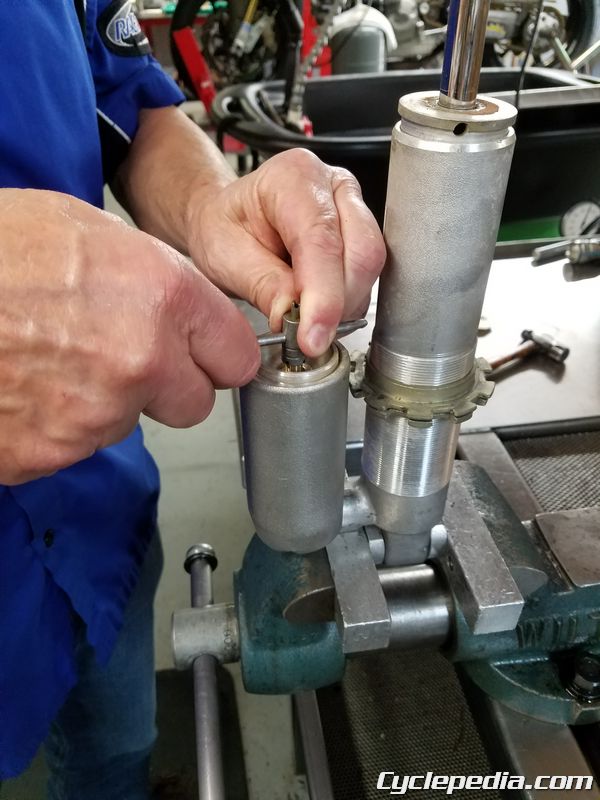


Remove the bladder and check it for damage and wear. The bladder will experience wear as it is compressed by the oil moving inside the shock. Most OEMs advise to replace a bladder any time it is removed.
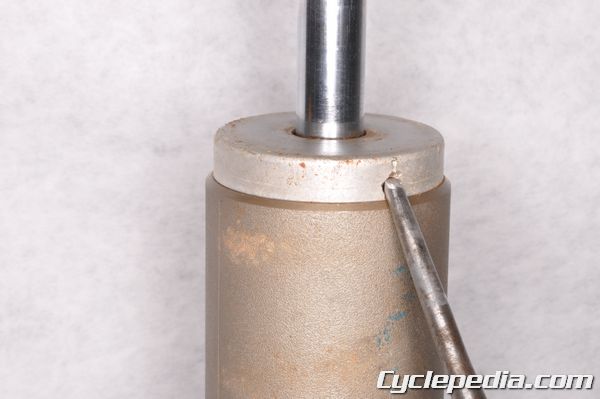

Use a punch and hammer to free the shock seal head cover from the shock body.

The seal head circlip must be accessed. Rick used a special tool to push down the seal head for better access to the circlip.

Remove the circlip while being extremely careful to avoid scratching the inside of the shock body.

Lift the shock shaft assembly out of the shock body and dispose of the old shock oil. Clean the components thoroughly.
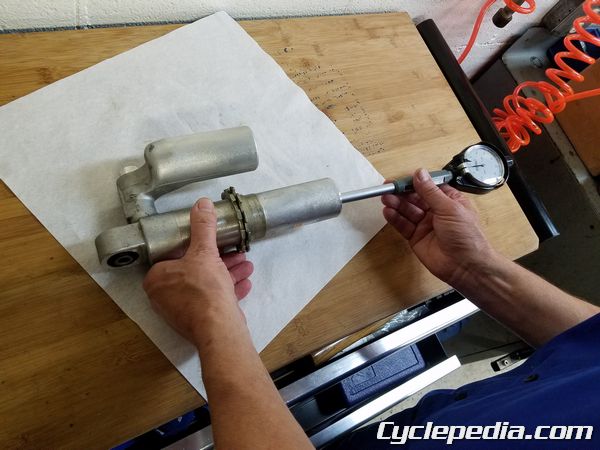
The shock body of the DR650, like many other stock shocks, is made of raw aluminum. It wears very quickly. Inspect the body for signs of damage and measure the inside diameter front-to-rear and side-to-side at multiple levels. Replace the shock body if it is more than 0.5 mm out of round. Use a hone to smooth out any wear or burrs from the inside of the shock body.
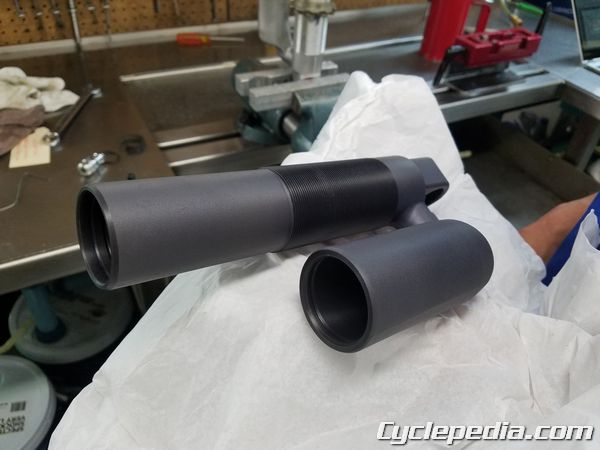
Cogent Dynamics offers a hard anodizing service to greatly improve the wear resistance of these raw shock bodies.
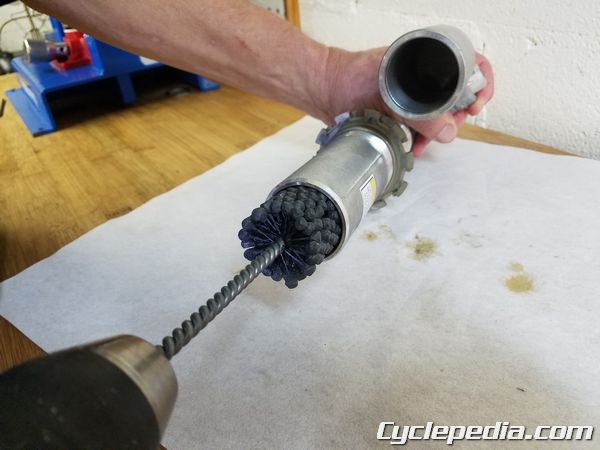
Use a hone to smooth out any wear or burrs from the inside of the shock body.
So far all of this is pretty normal for a shock rebuild. This is where that starts to change. This shock isn’t designed with service in mind like a motocross shock. It is a bit more difficult to disassemble from this point on. This delicate work can be sent off to a qualified suspension company like Cogent Dynamics.

A high performance shock that is intended for service and re-valving will have a valve nut that is lightly peened to the shock shaft. This can be freed up with a hand file. The photo above is an example of this type of shock as found on a Honda CRF250R.
Shocks like the DR650’s are a bit more difficult. Avoid taking off too much material and wiping out the threads of the shock shaft if using a grinder. The more precise way of removing the nut is to use a lathe.

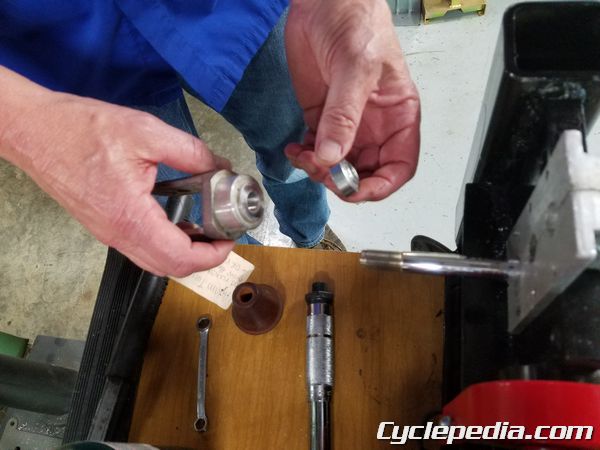
Place the shock shaft in a clamp and remove the clevis from the bottom of the shock shaft.

Install the shock shaft assembly into the lathe.


Use the lathe to turn down the peened nut until it reaches the root diameter of the shock shaft thread. In this case that is around 11.45 mm. Extreme care is needed to avoid removing too much material.
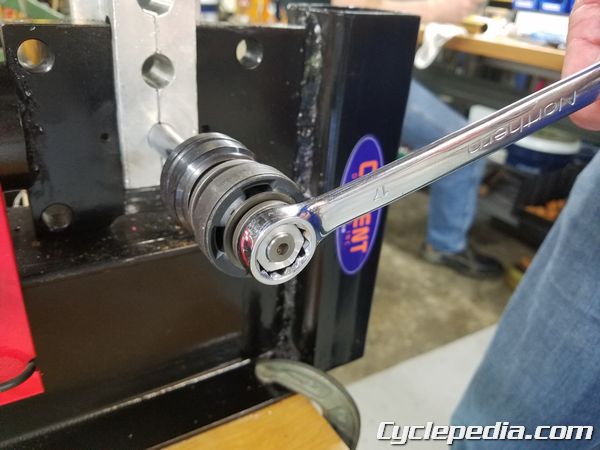
Return the shock shaft to the clamp and remove the nut. Discard this nut and replace it with a new item on assembly. Use a new nut with red Loctite on assembly.

Remove the nut and valve components from the shock shaft. Place them on a piece of wire to keep them together and in order.
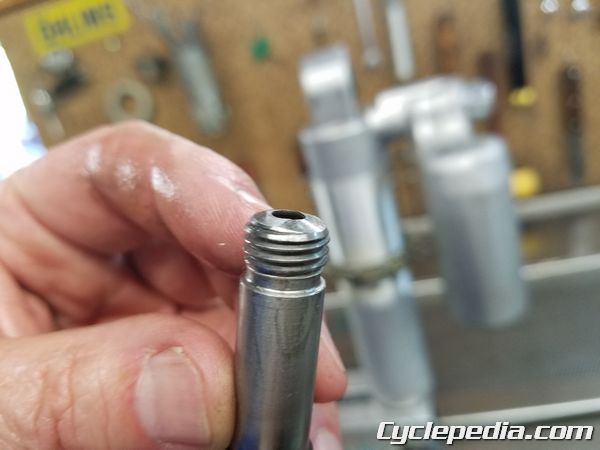
Inspect the shock shaft threads to make sure they are still usable. Touch them up with a thread file or die as needed. Clean the shock shaft.

If the shock shaft threads aren’t good enough for reassembly the shock shaft will have to be replaced. One of Cogent Dynamics DR650 upgrade parts is an improved shock shaft. This shaft is drilled out for an oil bypass and has a rebound damping adjuster on the bottom. Using this new shock shaft also eliminates the need for removing the difficult nut from the stock unit.

Clean the components thoroughly and inspect the valve shims for warping and cranking.

The shock valve and shims can be changed to adjust the damping. The guys at Cogent Dynamics use a shock dyno to test the performance of custom shock tunes. The dyno connects to a computer and graphs the damping force vs. speed (shock shaft), and damping force vs. position (position of shock in its stroke).

The compression damping adjuster is peened to the shock body.

Carefully drill out the body where it is peened. If the threads are significantly damaged the components may be ruined.

Remove the damping adjuster from the shock body. Touch up the threads with a thread file or tap and die set. Clean away the metal shavings. Use red Loctite when installing. the damping adjuster after the oil has been filled.

Some seal heads can have their seals changed, but many times the entire seal head must be replaced. Lubricate the seals of the new seal head with grease. Use a grease suitable for internal suspension seals like Race Tech’s Ultra Slick Seal Grease to lubricate any rubber seals on the shock. Avoid damaging the new seals during installation by covering the threads with plastic or a use cool seal head installation tool like Cogent Dynamics.
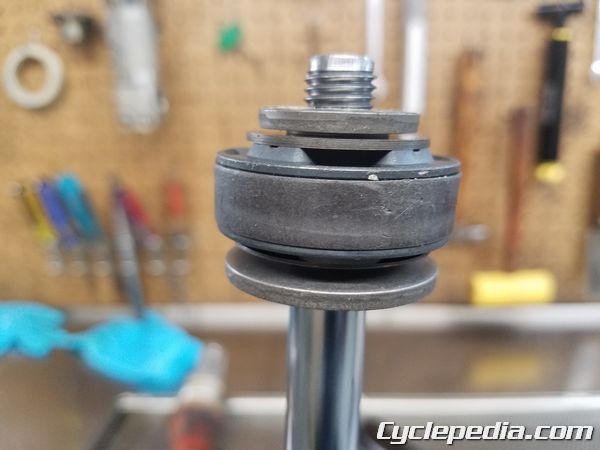
The wear band on the outside of the valve can often be reused, but the expander ring under it should be replaced.
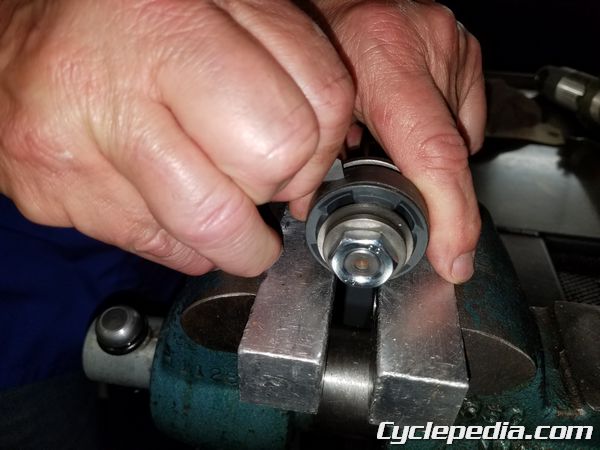
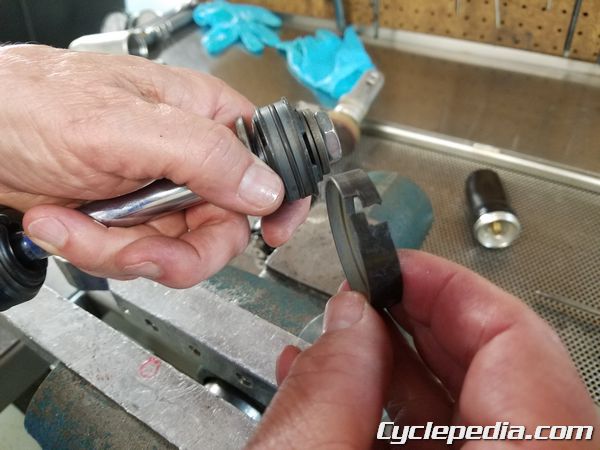
If the band is to be reused make a step-cut with a razor blade.
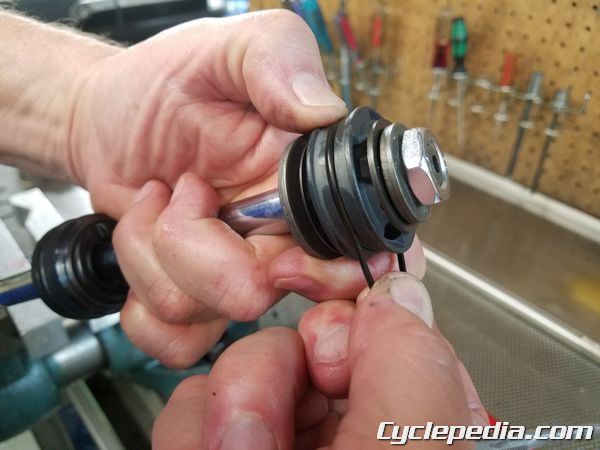
Replace the expander ring under the valve with a new item. Apply a light coat of grease to the expander ring.

With the rubber bumper, seal head cover, seal head, and valve components in place on the shock shaft, install a new nut with red Loctite.

Install the clevis to the shock shaft.
Apply a light coat of grease to the inside of the shock body prior to installing the shock shaft.

Install the wear band around the valve and expander ring.
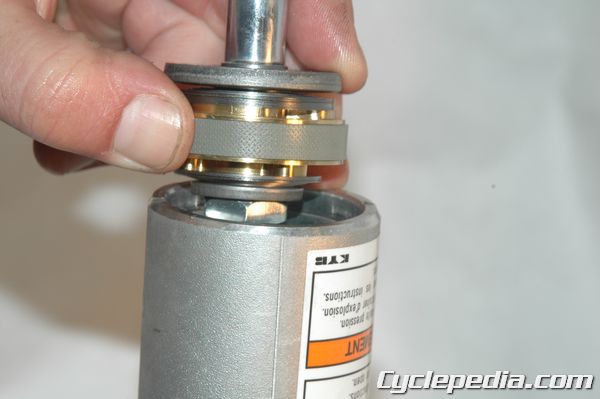
Hold the wear band together it if has a step cut. Install the shock shaft into the body.
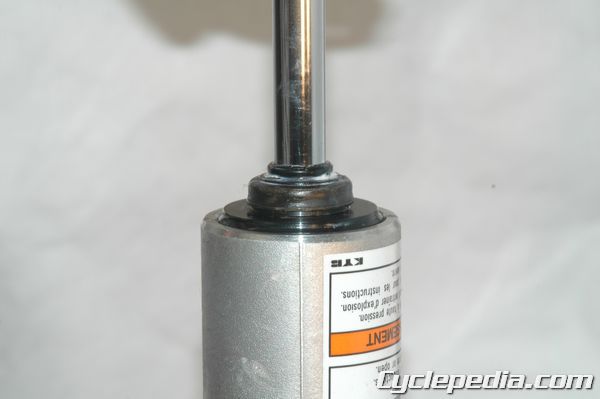
Fit the seal head into the shock body.

Tap the seal head down until its circlip groove is visible.
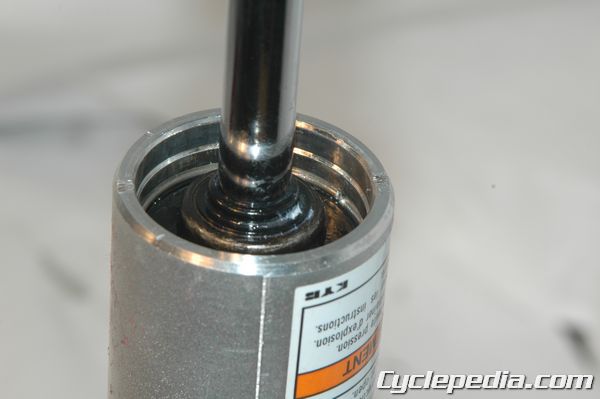
Install the circlip into the groove to secure the seal head. Pull the shock shaft out so the seal head sits against the circlip.


Tap the seal head cover into place with a mallet.

Lubricate the bladder where it seals to the cap and its chamber in the shock body. Install the bladder into its chamber.

Install the bladder circlip into its groove.

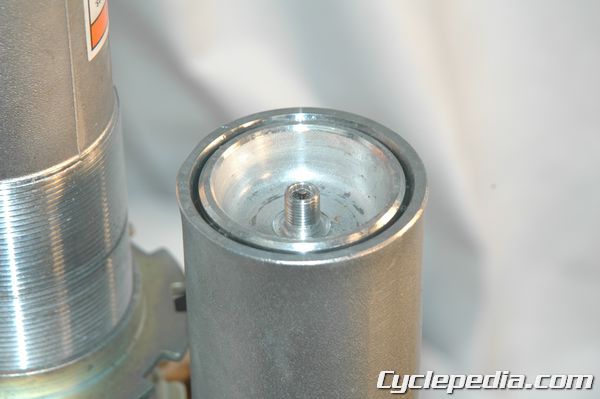
Pressurize the bladder just enough to get it to seat against its circlip.
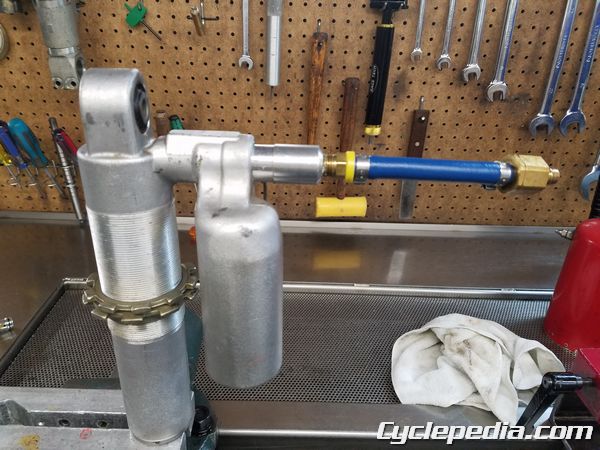
When the shock shaft and bladder have been installed it is time to fill the oil. Cogent Dynamics uses a vacuum pump to create a vacuum inside the shock and draw the oil into the shock. They then apply vacuum again to draw any air out of the oil. This is much quicker and produces a better result than bleeding by hand. The damping adjuster is installed with red Loctite after the oil is filled.
The bladder is pressurized to specification with nitrogen. Cogent varies the pressure as needed to match up with their custom valving to prevent oil cavitation. The damper is ready for final inspection. If it is all good to go the spring is installed and it is ready for installation on the motorcycle.
A rider doesn’t need to give up on the stock shock. For less than the cost of a new stock unit it can be rebuilt with the help of the aftermarket parts. It can be enhanced and re-valved as well to match the needs of an exacting rider.
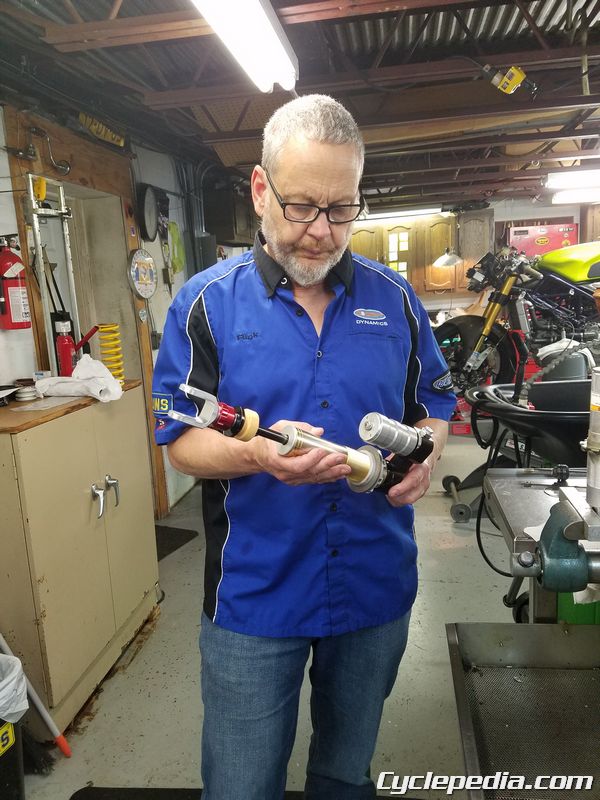
Cogent Dynamics also builds brand new custom shocks right here in Western North Carolina. These shocks are hand made of high quality materials and are tuned to the specific rider. While they do cost a little more than fully tricking out an OE shock, there isn’t the down time associated with a rebuild, and additional features are available. Plus, having a spare shock around allows the bike to be returned to stock for resale or make a few bucks back by passing on the stock unit to someone else.


Leave a Reply
You must be logged in to post a comment.