Get access to tech support and our Troubleshooting Guide
Electric starting systems are now found on almost all power-sports vehicles. All electric starting systems have two separate circuits: one for low current, and one for high current. Both circuits are connected to the battery.
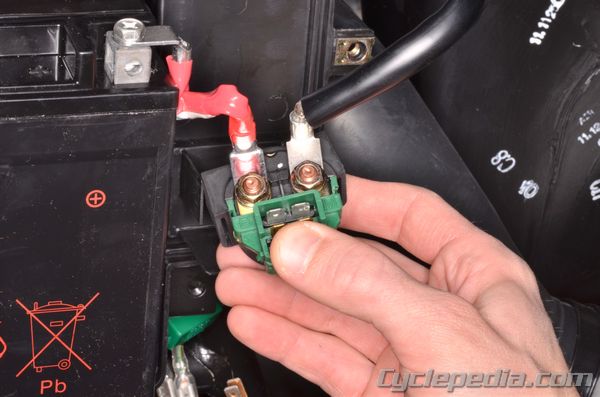
When the starter motor is activated it requires a large amount of current to turn the engine over. The high current circuit carries this current to the starter motor from the battery. This circuit is easily identifiable as it must use a heavier gauge wire to handle the high current. The 6 to 8 gauge wires that connect the positive battery terminal to the starter relay and the starter relay to the starter motor make up the high current circuit along with the high current contacts in the starter relay.
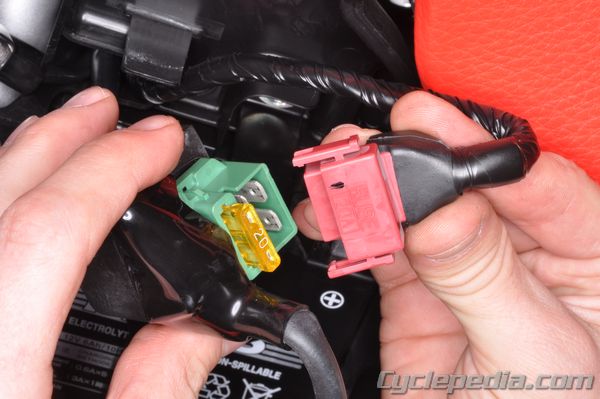
The high current circuit is controlled by the low current circuit. The low current circuit uses smaller wires, usually 16 to 12 gauge. The central components of this circuit are the battery, main/ignition switch, engine start switch, fuse, and coil winding inside of the starter relay.
When the engine start switch is activated the low current circuit is completed and an electromagnetic field is created inside the starter relay. This electromagnetic field closes the high current contacts and completes the high current circuit. The high current flows through the heavy gauge wire to power the starter motor. When the engine start switch is released the low current circuit is opened, and as a result the high current contacts open and the high current flow to the starter motor is stopped.
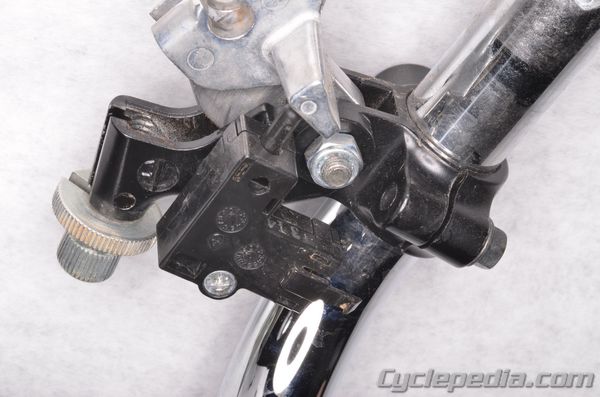
Most starting circuits are designed to keep the starter motor from turning under unwanted conditions. This may involve brake, clutch, side-stand or neutral switches that will not allow the low current circuit to complete unless optimal starting conditions exist. If the starting system isn’t functioning correctly troubleshoot the whole circuit and not just the main components.
When inspecting an electric starting system be sure to start with a battery that is fully charged. Locate the starter relay. Attempt to start the engine and listen to the starter relay. The starter relay should click. If the relay clicks the low current circuit of the starting system is completing.
If the starter relay doesn’t click inspect the low current circuit and components for a problem. Almost all starter relays can be tested in the same manner.
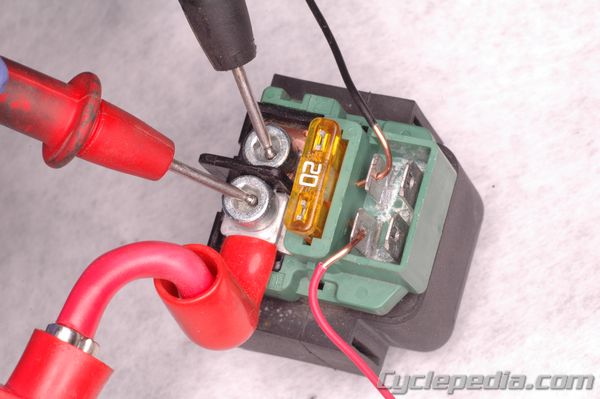
Disconnect the high current lead from the positive terminal of the battery and unplug low current connector from the starter relay. Jump 12 volts directly to the low current input terminals of the starter relay. Check for continuity between the high current terminals. When the jump is completed there should be continuity between the high current terminals. When the jump is open there should not be continuity between the high current terminals. Replace the starter relay if it fails this test.
If the starter relay is clicking, but the starter motor is not turning, there is a problem with the high current circuit. Check for a poor connection in the heavy gauge wires between the battery and starter relay, and the starter relay and the starter motor. The problem could lie with the starter motor if the high current wires and connections check out.
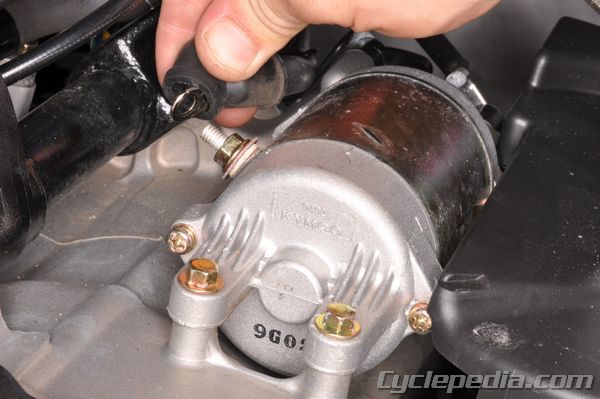
To test the starter motor, jump 12 V directly to it and see if it turns. Be sure to prepare the vehicle for the starter motor turning as the low current circuit safety precautions will be bypassed in this test. If the starter motor doesn’t turn it is either faulty or it is locked up be a mechanical engine problem.


Leave a Reply
You must be logged in to post a comment.