While many fuel injection diagnostic tools are expensive and complex, there are some that are simple and easy to use. The Honda Service Check Short Service connector is a simple jumper connector that is used to check and erase Diagnostic Trouble Codes (DTC). This SCS service connector is needed on a wide range of Honda powersport engines- ATVs, motorcycles, and personal watercraft all require this basic tool.
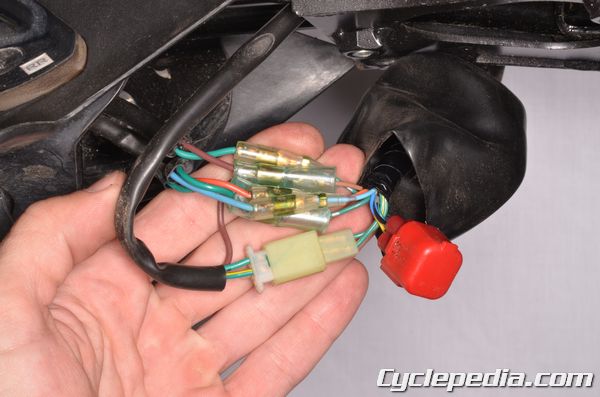
The tool, part number 070PZ-ZY30100, is an electrical connector with a built in jumper wire. The tool connects to the Data Link Connector (DLC), and jumps two wires of the DLC to create an input to the ECM. While the wires can be jumped manually without the tool, the tool insures the correct wires are jumped.
The DLC wires that are jumped by the tool vary in color from model to model- the CBR250R uses blue and green wires, but the VFR1200F uses brown and green wires. Make sure to have the service manual to correctly identify the wires of the DLC if attempting a jump of the DLC without the tool.
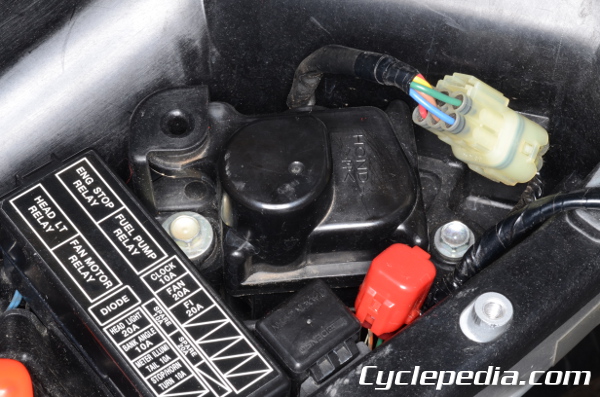
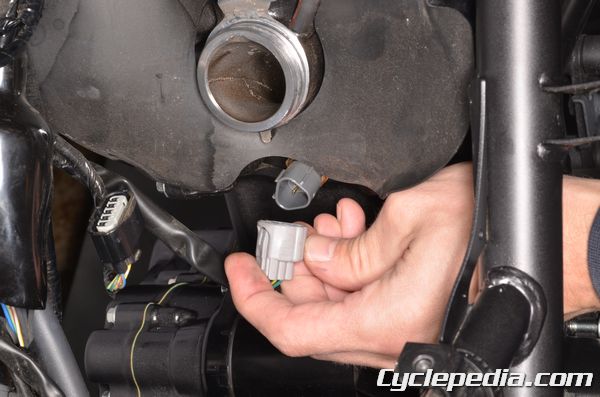
Locate the red 4-pin DLC to use the SCS service connector. Often the DLC is found under the seat, but this is not always the case. On the CBR250R the DLC is located behind a small plastic panel near the rear fender.
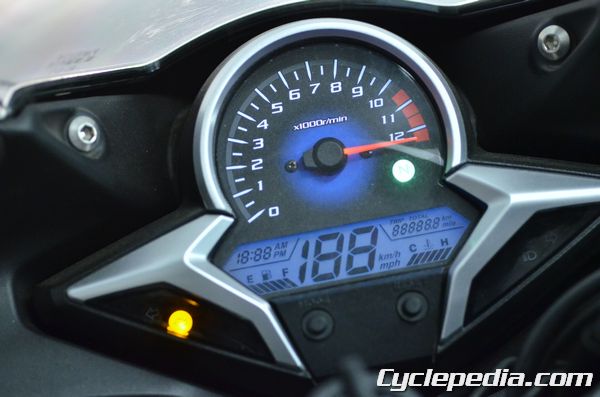
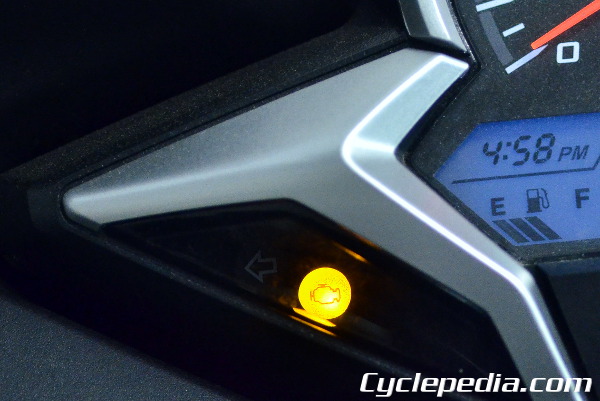
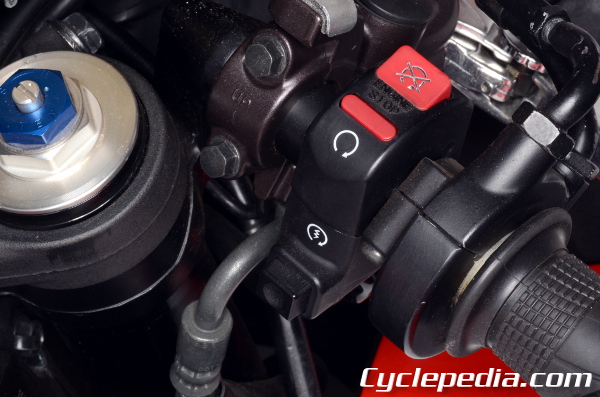
The following procedure describes checking fuel injection fault codes with a blinking Malfunction Indicator Lamp (MIL). Start by turning the ignition switch to the OFF position. Remove the dummy connector from the DLC. Short the indicated wires of the DLC with the SCS service connector. Turn the ignition switch ON and the engine stop switch to RUN. If the ECM has any DTC in its memory, the MIL will start blinking. The MIL blinks indicate the DTC.
The MIL has two types of blinks, a long blink and short blink. The long blink lasts for 1.3 seconds; the short blink lasts for 0.3 seconds. One long blink is the equivalent of ten short blinks. For example, when three long blinks are followed by five short blinks, the MIL is 35. When the ECM stores more than one DTC, the MIL will express the fault codes in order from the smallest numbered code to the largest numbered code.
Record the DTC and investigate the faulty function according to the DTC table, troubleshooting, and testing information in the vehicle’s service manual. Erase the DTC after the fault issue has been corrected.
Complete the following procedure to erase the DTC with the SCS service connector. Start by turning the ignition switch to the OFF position. Remove the dummy connector from the DLC. Short the indicated wires of the DLC with the SCS service connector. Turn the ignition switch ON and the engine stop switch to RUN. Remove the special tool to disconnect the jump. The MIL will light for approximately 5 seconds. While the MIL lights, short the DLC terminals again with a special tool. The self-diagnostic memory is erased if the MIL goes off and then starts blinking.
The SCS service connector also comes in handy for other service items. The CBR250R requires this tool as part of a TPS reset procedure. To reset the TPS closed position, start by turning the ignition switch to the OFF position. Remove the dummy connector from the DLC. Short the indicated wires of the DLC with the SCS service connector. Unplug the Engine Coolant Temperature sensor (ECT) connector. Short the Yellow/blue – Green/white wire terminals of the wire harness side of the ECT sensor connector with a jumper wire. Turn the ignition switch ON and the engine stop switch to RUN. The MIL should be blinking slowly. Disconnect the ECT jump within 10 seconds. After the ECT jumper wire is disconnected the MIL should begin blinking quickly to indicate the throttle closed position has been reset.


Leave a Reply
You must be logged in to post a comment.